Light trails photography – an advanced guide
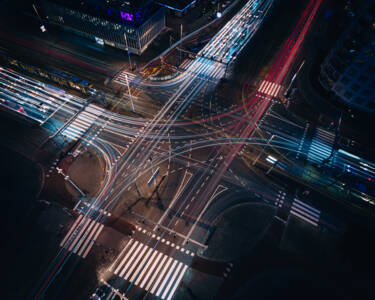
Tips and tricks for when the city becomes alive with light
As an urban photographer, I’ve always been drawn to the city at night. I’ve used Nikon cameras since the very beginning, 13 years ago, and have never been let down by them, especially when photographing light trails. These streaks of light, painted across the canvas of the night sky, can create truly mesmerising images. Here are the tips I’ve learned along the way.
Scouting the location
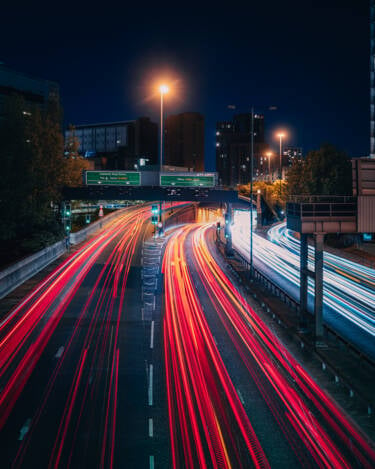
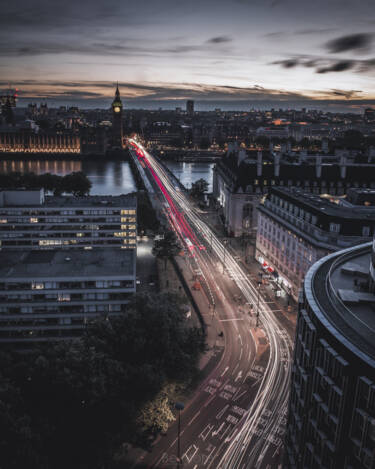
The first step to capturing stunning car light trails is to find the perfect location. Look for roads with optimal traffic, as this will allow you to capture clean, uninterrupted trails. Bridges are often excellent choices, as they provide a vantage point that looks down on the road. When I’m out in London, I keep an eye out for vantage points, how roads may look from different perspectives and where the traffic flows. Experiment and find the best location for you.
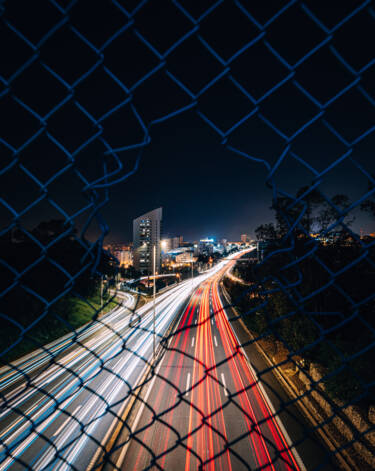
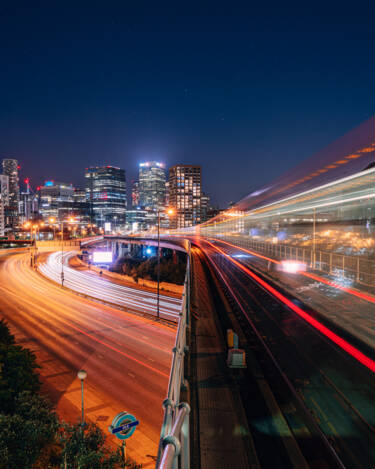
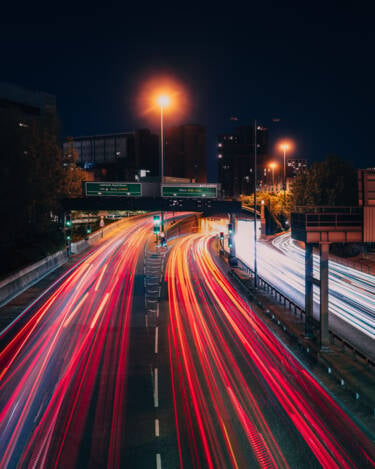
In the photos above, I am positioned at a train station. I’m standing at the very end of the track and I’m shooting over the last part of the ledge with a tripod. I did get some looks from passers-by, but it was worth it!
Step-by-step guide to camera set-up and settings
Gear up
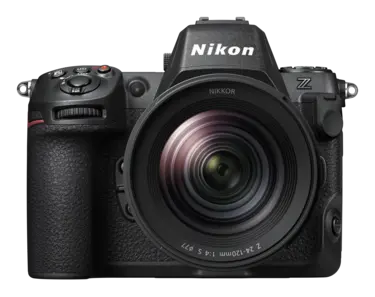
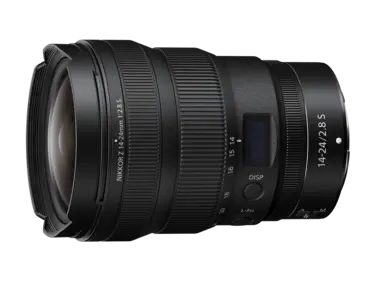
You’ll need the right equipment with you. My favourite is the Nikon Z8 with the NIKKOR Z 14-24mm f/2.8 S and a sturdy tripod – I prefer the Gitzo traveller tripod. You can photograph without a tripod, but it will make your life easier and give you access to more compositions. Next comes a filter. I use the Polar Pro Peter McKinnon VND filter (Variable Neutral Density) – these act like sunglasses for your camera’s lenses, allowing you to control how much light enters the camera. With this enabled, you will be able to photograph long exposures during the brighter times of the day. The last item is a remote shutter release switch, which allows you to press the shutter without physically touching the camera. However, if you’re just starting to build your kit, you can use the timer mode or SnapBridge instead.
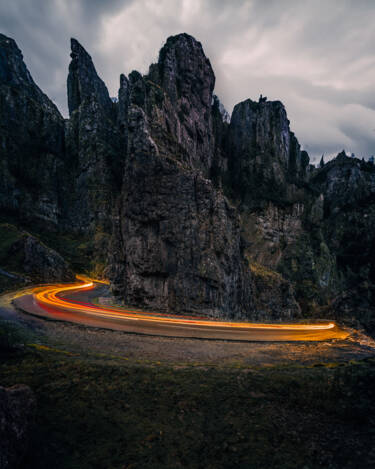
Setting up your camera
When I photograph light trails, I always have a base point to start, then I adjust depending on how the first exposure comes out:
- Camera mode: Aperture Priority
- Aperture: f/8
- ISO: 100
- Shutter speed: will be determined by the camera
Then I take another photo to see how the trails are doing. Aperture Priority makes the whole process easy. The aperture will vary depending on the location you’ve chosen, the light available for the camera and the cars driving through the scene. You will need to experiment and check everything in the scene is how you want it to look before you lock in and start photographing final exposures.
Practise taking images where the trails are both long and sharp – spending extra time can pay dividends. A huge factor is the light that’s available and how fast the cars are travelling. If the shutter speed is too short, the trails can be sharp, bright and bold but not too long. If the shutter speed is too long, the trails will be long but may fade too quickly. Experimenting and finding the sweet spot is crucial before you start your final exposures.
Top tips
- Use Aperture Priority mode but don’t forget to use your eyes and override the setting if you see something is not right.
- To capture light trails, you’ll need to use a long exposure.
- In Aperture Priority mode, use the aperture to change the length of the camera exposure. A shutter speed of around 15-30 seconds is the sweet spot. Keep adjusting the aperture to find the desired effect.
- Set your White Balance to Auto and make adjustments in post-production if needed.
- Use Manual focus and focus on a specific point on the road. This will ensure the trails are sharp.
- A sturdy tripod is essential for long exposures. A remote shutter release can also help to prevent camera shake.
Composing your shot
The composition of your car light trail photos is just as important as the technical settings. Here are some tips for creating compelling images:
- Leading lines: look for leading lines in the road or surrounding landscape that can draw the viewer’s eye towards the trails.
- Framing: use elements in the foreground, such as trees or buildings, to frame your shot.
- Symmetry: consider using symmetrical compositions to create a sense of balance and harmony.
- Rule of thirds: divide your image into nine equal parts using two horizontal and two vertical lines. Place the most important elements of your shot at the intersections of these lines.
Capturing the trails
Now that you’ve set up your camera and composed your shot, it’s time to capture the trails. Here are a few tips:
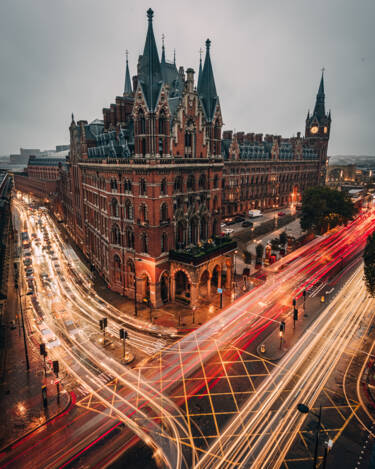
- Take loads of exposures and multiple trails for editing in post-production, especially if there is limited traffic.
- It may take some time to capture the perfect trails. Be patient and keep trying different settings and compositions.
- Don’t be afraid to experiment with different shutter speeds and apertures to see what works best.
Post-processing
Once I’ve captured my images, I upload to Adobe Lightroom and add my usual settings to get the photos in my desired style. My preferred style when editing is to keep the image as true to the life as possible, while adding a few tweaks that I like from my colour palette.
This part is always a personal preference, so I will leave those choices up to you, as my settings can vary from photo to photo. Once selected, I apply the settings to the photos that contain the car trails as these can be taken in multiple places depending on how wide the roads are and my composition.
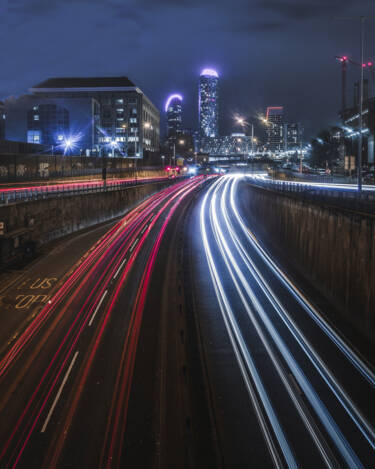
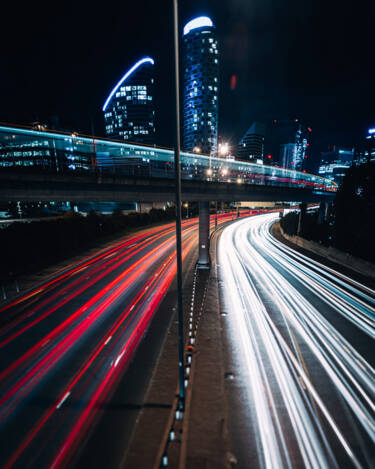
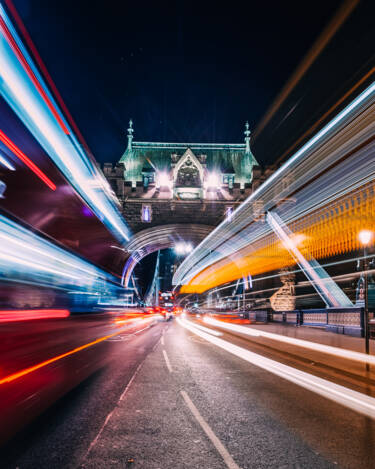
Z7 + NIKKOR Z 14-24mm f/2.8 S. Left: 24mm, 30 sec, f/9, ISO 100. Right: 24mm, 30 sec, f/8, ISO 100 ©Ben Moore
Elevating in post
In Adobe Photoshop, find your main base image – the most complete image in your set. Next, add multiple edited images as layers to enhance the image further. The number of images I take will depend on what each image adds to the enhance the scene. If I need more trails in the right lane, for example, I’ll add an image that has more on the right. Once complete, I select the extra frames, group them, and select ‘Lighten’. This will only allow the brightest parts of the image to show through each image. I also create a group mask and then mask out anything that I don’t want to show in the base layer image.
You can see the effect in the two images above. Figure 1 has only one frame, whereas, Figure 2 has many more light trails, making it a more impactful image due to the merged multiple layers.
Once I am happy with the overall balance of the image and the edit, I further clean the picture by removing anything that might distract the attention of the viewer and stops them focusing on the image. And that’s it.
Now, over to you.
More in Tips & Tricks
Featured products
More from Ben Moore
Unlock greater creativity

